
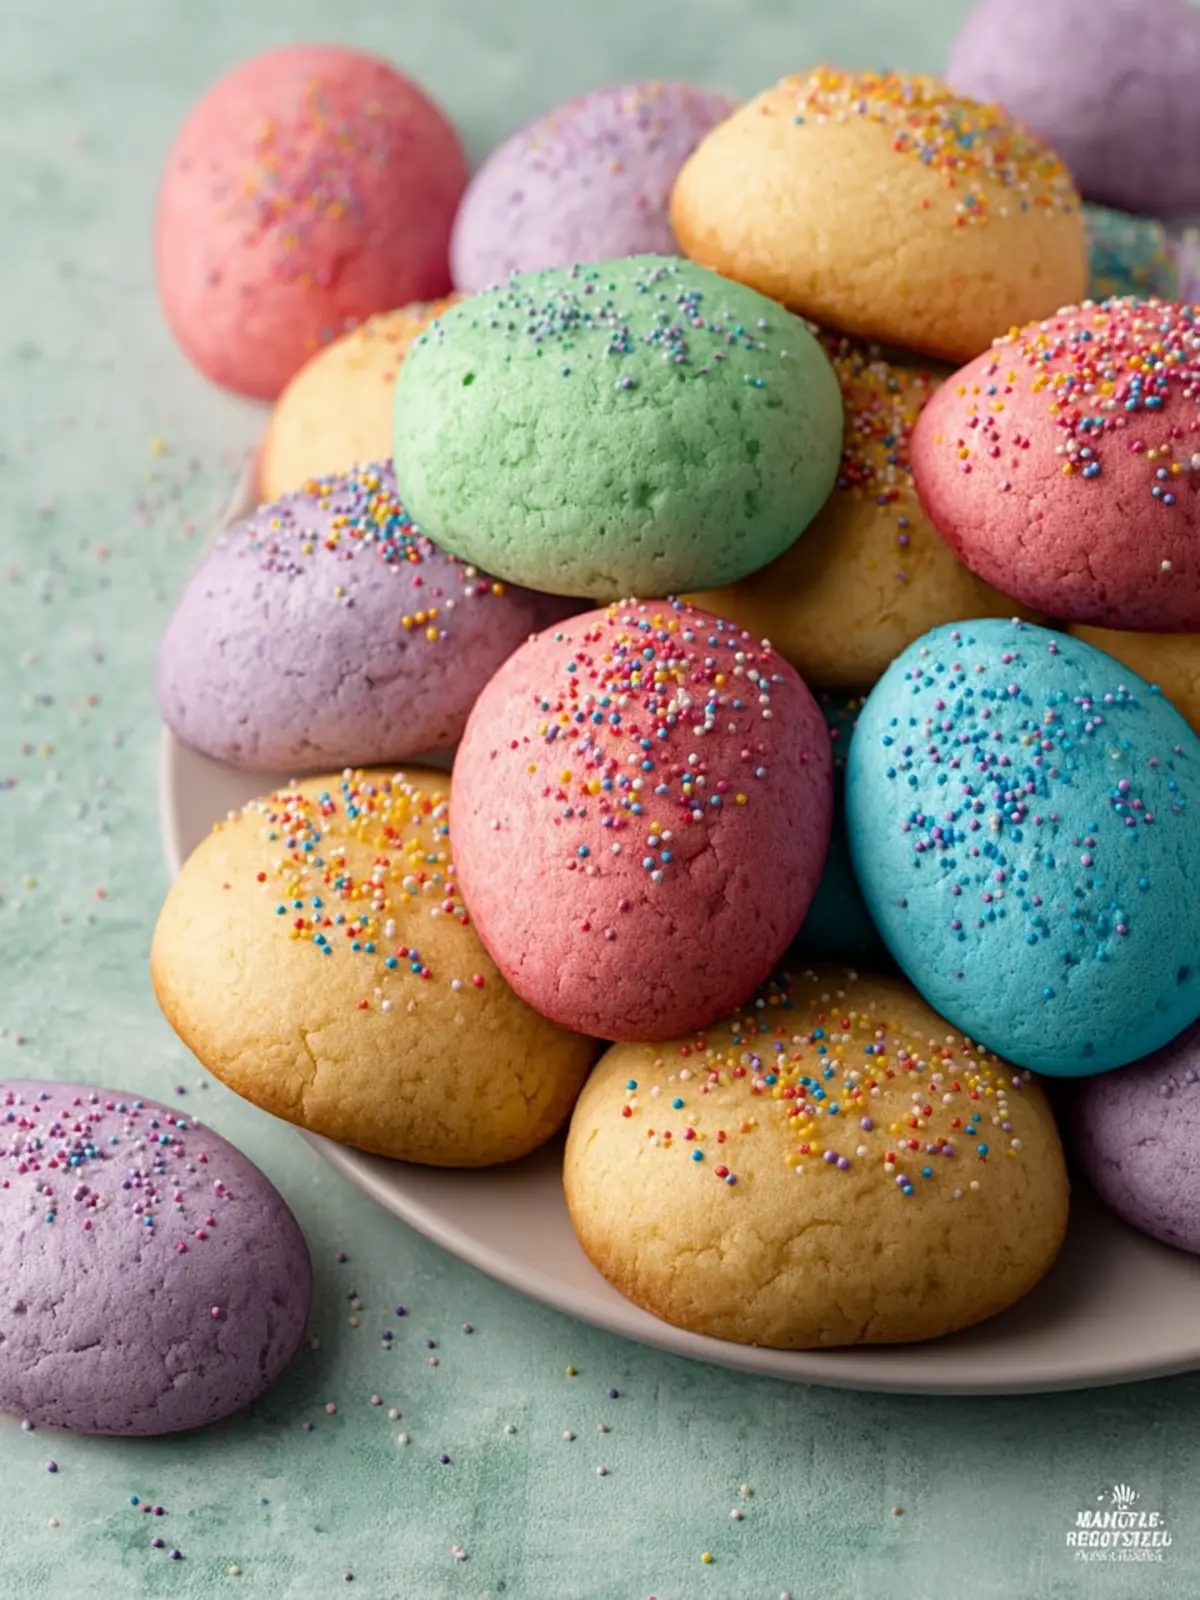
Introduction to Italian Easter Cookies
Italian Easter cookies are more than just a delightful treat; they are a cherished tradition that unites families during the Easter season. Imagine a warm, inviting kitchen filled with the aroma of baked goods, where laughter and joyful conversations echo as everyone comes together to create these sweet masterpieces. These cookies, also known as “biscotti di Pasqua,” are typically adorned with colorful sprinkles and enticing flavors, celebrating the renewal of life that Easter represents.
The origin of these delectable cookies can be traced back to various regions in Italy, each adding their unique twist to the recipe. Whether you’re enjoying them with a cup of coffee or gifting them to friends and family, Italian Easter cookies are a symbol of love, heritage, and festivity. Each bite is a reminder of shared memories and the joy of Easter celebrations.
As you prepare to make these cookies, it’s essential to embrace both the process and the tradition behind them. Rolling out the dough, cutting shapes, and decorating each cookie is not just about creating something delicious; it’s about creating moments that last a lifetime. For many families, this cookie-making ritual is handed down through generations, each recipe evolving to reflect personal stories and flavors.
Making Italian Easter cookies is a wonderful way to introduce a piece of Italian culture into your own home. With each cookie you bake, not only do you create a tempting treat but also carry on a beautiful tradition that has connected families for centuries. As you dive into this delightful culinary adventure, remember that the heart of these cookies lies not only in their ingredients but also in the love and joy that you pour into making them.
So, let’s roll up our sleeves and start crafting these delightful cookies that will bring a taste of Italy to your Easter table!
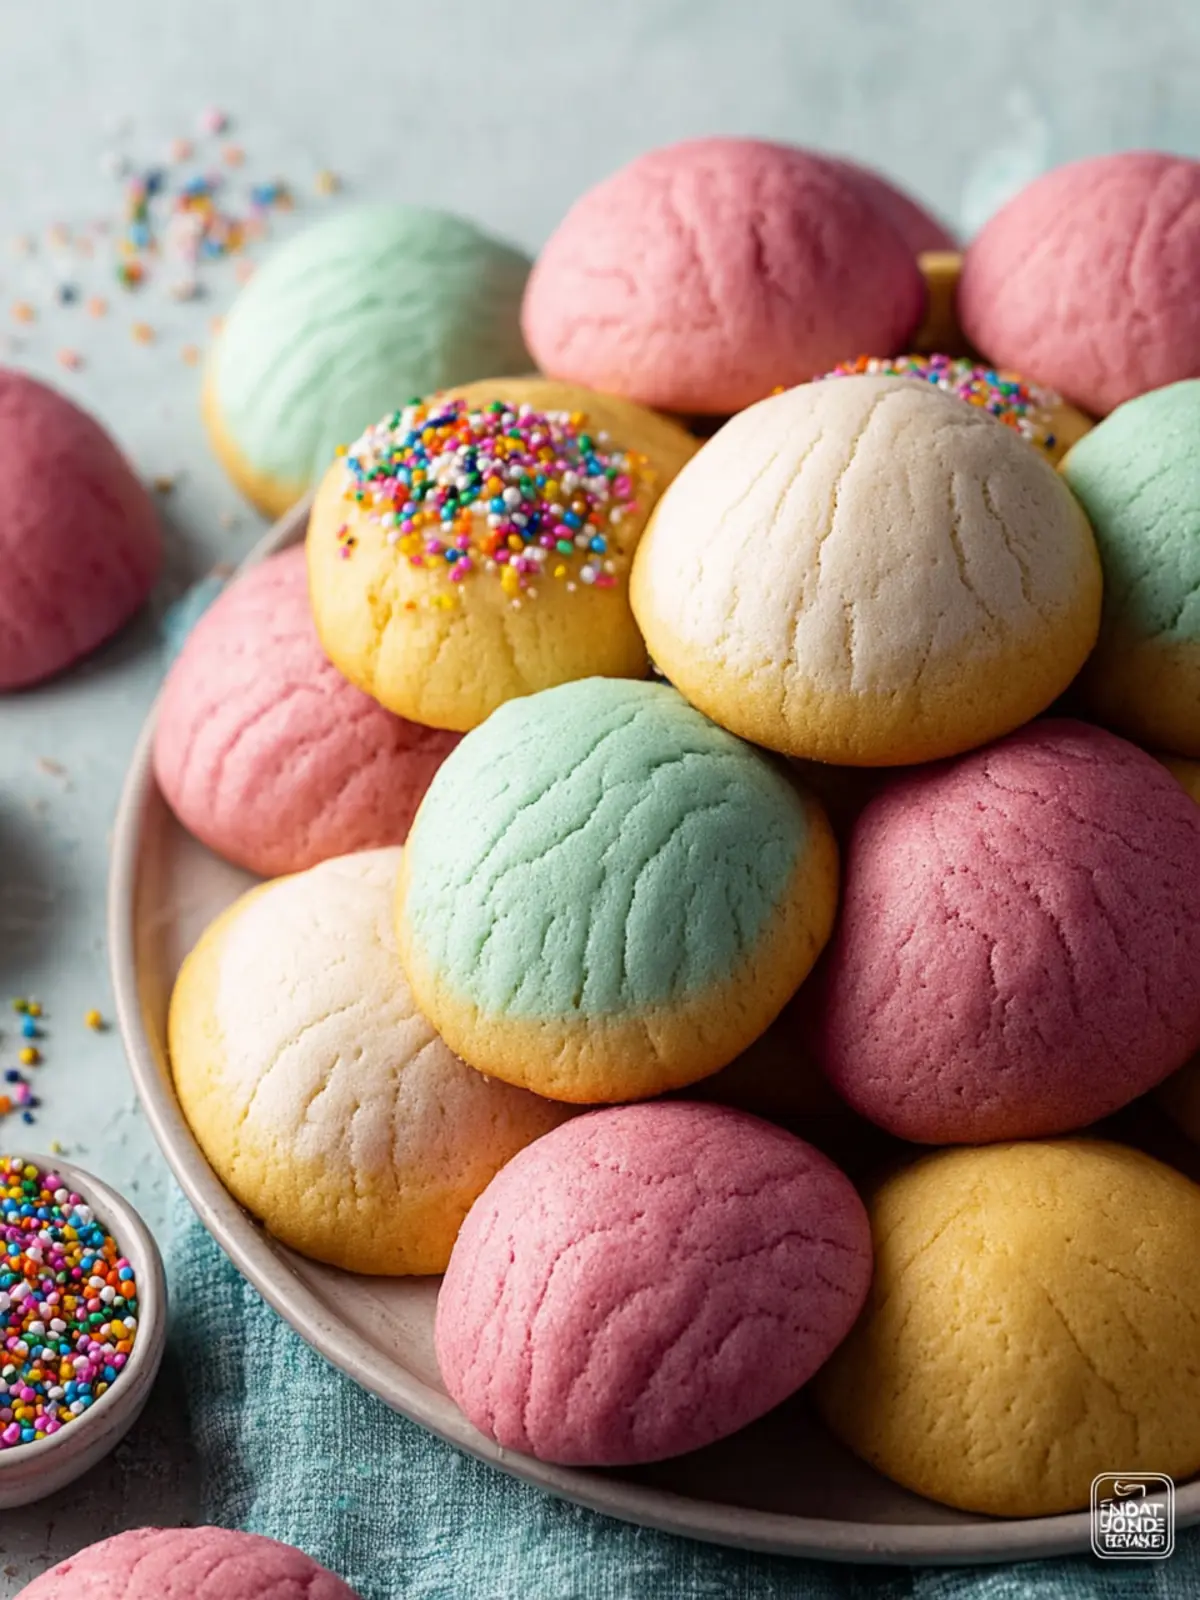
Key Ingredients for Italian Easter Cookies
Creating the perfect batch of Italian Easter Cookies is a delightful way to celebrate the spring season and share joyful moments with loved ones. From the rich flavors to the vibrant colors, these cookies bring a flair of festive spirit to any gathering.
-
Flour: The foundation of our Italian Easter Cookies is all-purpose flour, which provides the perfect structure and texture. It absorbs moisture during baking, ensuring a soft, tender cookie that holds its shape.
-
Sugar: Granulated sugar sweetens the dough, enhancing the flavor and achieving a lovely golden color while baking. It’s the key ingredient that brings a touch of sweetness to these festive treats.
-
Eggs: Eggs are crucial for binding the ingredients together while adding moisture. The richness they provide contributes to the cookies’ delicate texture.
-
Butter: Unsalted butter is essential for its creamy flavor. It adds richness to the dough, making each cookie melt-in-your-mouth delicious.
-
Almond Extract: This adds a uniquely fragrant element that defines the cookies’ classic Italian flair. Just a touch goes a long way!
-
Decorative Sprinkles: No Italian Easter Cookies would be complete without colorful sprinkles to add a festive charm. They not only enhance the visual appeal but also add a delightful crunch.
With these key ingredients in hand, you’re well on your way to creating Italian Easter Cookies that are sure to impress your friends and family!
Why You’ll Love These Italian Easter Cookies
When it comes to Italian Easter Cookies, the experience is about more than just a sweet treat; it’s a nostalgic journey to vibrant family gatherings and the joy of springtime celebrations. These cookies are a delightful blend of tradition and flavor, making them a beloved staple for Easter festivities.
A Unique Flavor Profile
These cookies stand out for their distinctive taste, which beautifully balances sweetness with zesty citrus notes. The addition of bright lemon and orange zest creates an aromatic experience that dances on your palate.
- Soft and Chewy Texture: Unlike many traditional cookies that can be hard and crumbly, these Italian Easter Cookies boast a soft, inviting texture that everyone loves.
- Decorative Fun: Topped with colorful icing and sprinkles, they’re not just delicious but also visually stunning, making them a centerpiece on any dessert table.
Perfect for Sharing
What’s better than sharing homemade goodies with loved ones? Baking these cookies together can be a fun and rewarding experience, whether you’re with family or friends. Plus, they make for a memorable gift, showing your appreciation during this special holiday.
A Taste of Tradition
These cookies are steeped in Italian heritage, often enjoyed during Easter celebrations. By trying this recipe, you’re not just indulging your sweet tooth, but also honoring a rich cultural tradition that brings people together. So, roll up your sleeves, gather your ingredients, and dive into the heartwarming world of Italian Easter Cookies this season!
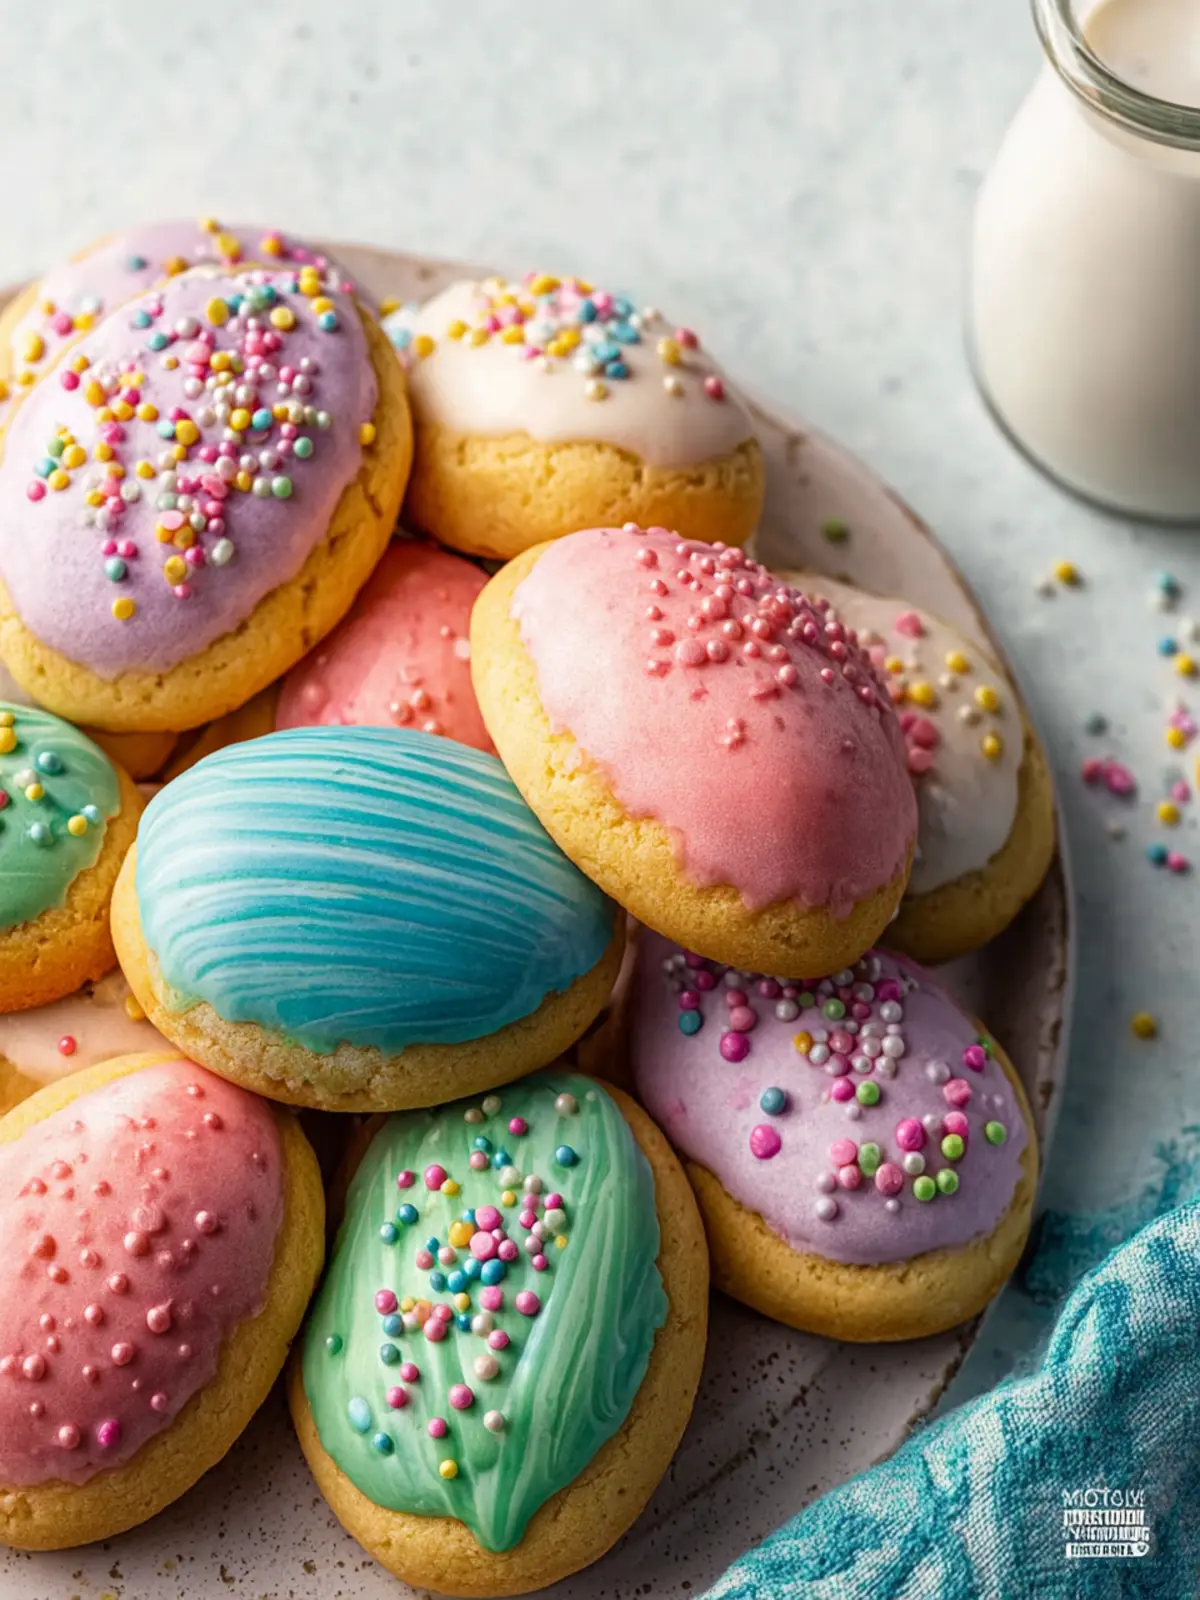
Tips for Making Perfect Italian Easter Cookies
Creating Italian Easter Cookies is more than just a recipe; it’s a delightful journey that weaves together family traditions and the promise of spring. As you prepare to bake these charming treats, here are some tips to ensure they turn out perfect every time:
Choose Fresh Ingredients
Using fresh and high-quality ingredients elevates your cookies. For instance, fresh eggs play a crucial role in binding the dough, while real vanilla extract enhances the flavor. Opt for organic when possible—it makes a difference you can taste.
Don’t Skip the Chill
After mixing your dough, chilling it for at least an hour is essential. This helps the flavors meld and makes rolling easier. If you’re short on time, maybe slide it into the freezer for a quick chill, but avoid freezing it too long.
Experiment with Decorations
While traditional icing is great, consider adding a personal touch. You could sprinkle colored sugar on top or even use edible flowers. These small details can make your Italian Easter Cookies stand out, especially for gatherings with friends and family.
Allow for Cooling
Once baked, let the cookies cool completely before decorating. This helps the icing set properly and keeps your cookies from becoming too soft. Take a moment to enjoy the delightful aroma wafting through your kitchen—it’s a sign that you’re creating something special!
Practice Makes Perfect
Lastly, if your first batch doesn’t turn out as expected, don’t be discouraged! Baking is an art, and each attempt brings improvements. Keep a notebook of what you learn to create your ideal recipe over time.
A little effort and a lot of love will take your Italian Easter Cookies to the next level, ensuring they’re memorable for everyone who tastes them!
Time Details for Italian Easter Cookies
Preparation Time
Crafting your Italian Easter Cookies starts with a little prep work, taking about 15 minutes. This includes mixing your ingredients and preparing the dough, so you can get those creative juices flowing.
Baking Time
Once your dough is ready, you’ll want to bake these sweet delights for approximately 10-12 minutes. You’ll know they’re ready when they turn a beautiful golden brown.
Total Time
From start to finish, including prep and baking, you’re looking at around 30 minutes. That’s just enough time for the delightful aroma of fresh cookies to fill your kitchen, making it the perfect backdrop for a festive gathering. Enjoy the process and the sweet rewards!
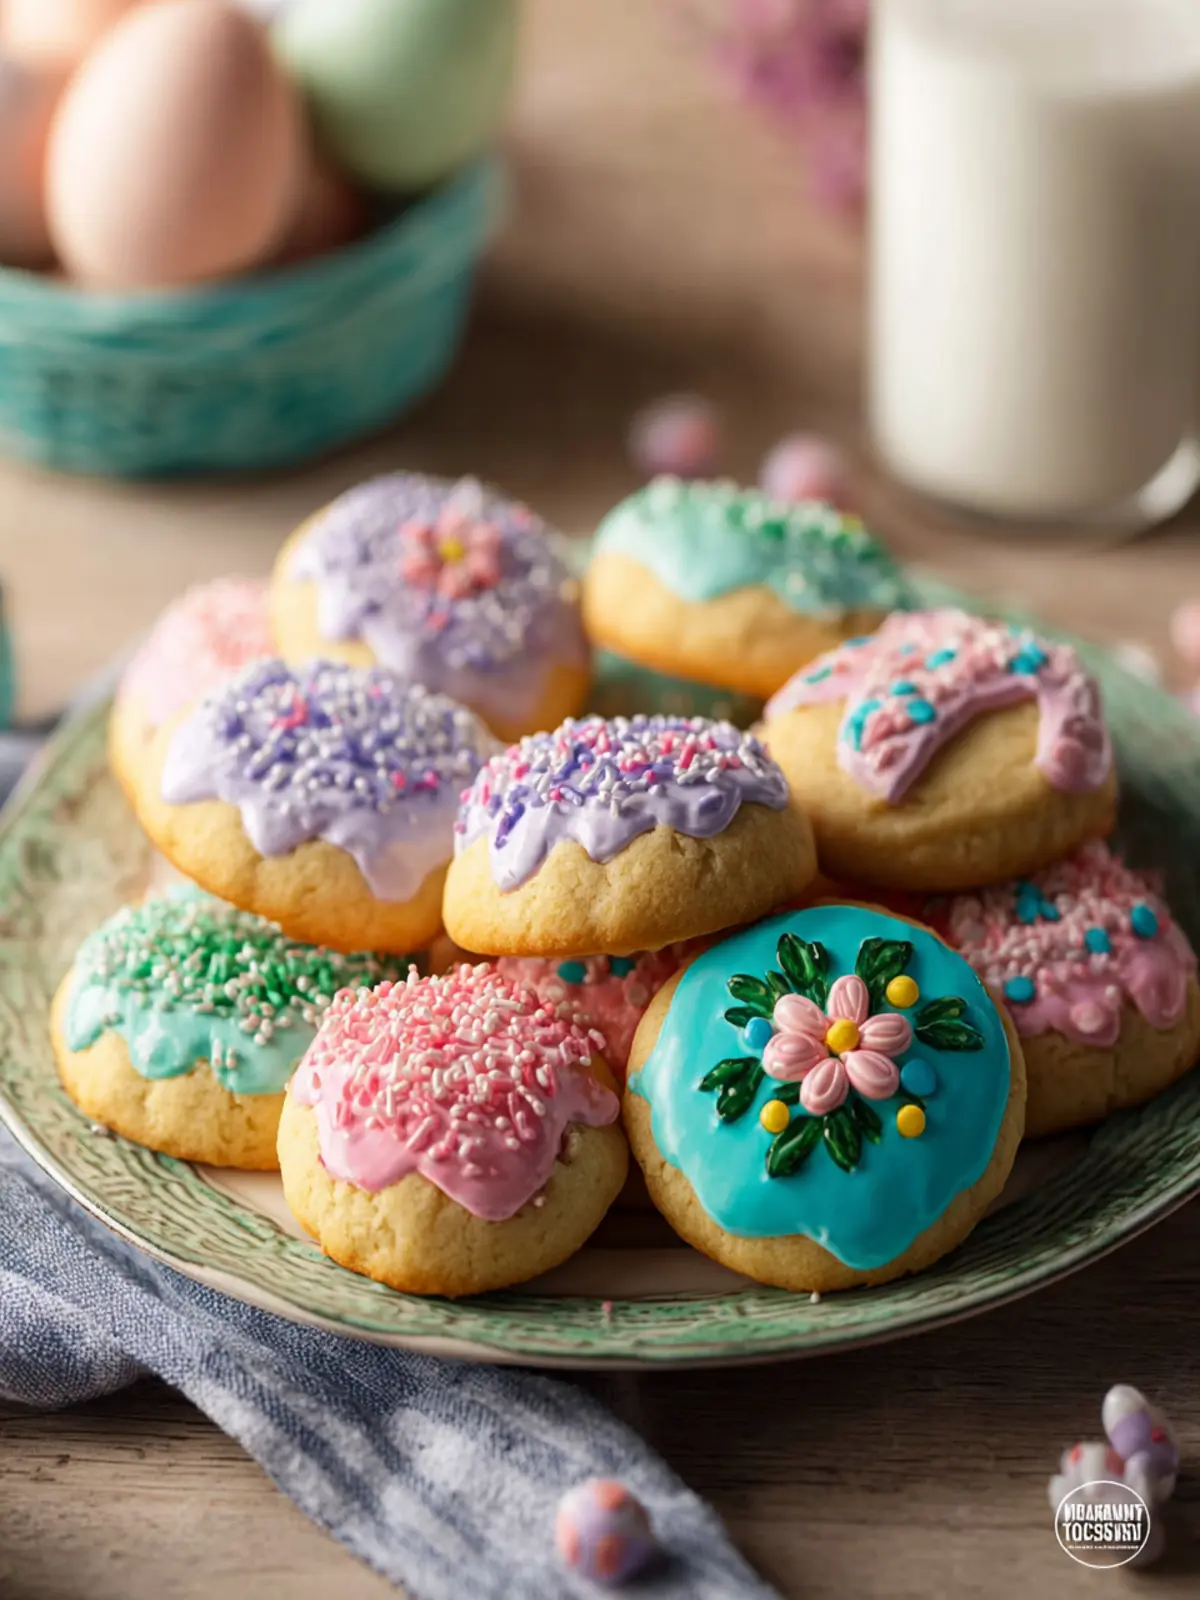
Nutritional Information for Italian Easter Cookies
Creating Italian Easter Cookies at home brings back delightful memories of family gatherings and festive celebrations. As you enjoy these treats, it’s also important to be mindful of the nutritional aspects they bring. Here’s a breakdown of what to keep in mind:
Calories
One serving of Italian Easter Cookies typically contains around 120 calories. This deliciously sweet treat is a wonderful indulgence during the holiday season without overwhelming your daily caloric needs.
Protein
Each cookie packs approximately 2 grams of protein. While they aren’t a primary source of protein, they still offer a little boost to help satisfy your snack cravings between meals.
Sodium
With about 50 milligrams of sodium per cookie, these Italian Easter Cookies are relatively low in salt. This makes them a nice option for those looking to enjoy a sweet treat without excessive sodium intake.
Enjoy your baking experience and the delightful flavors of these traditional cookies while staying informed about their nutritional content!
FAQs about Italian Easter Cookies
When you think about Italian Easter Cookies, it’s hard not to feel nostalgic, as they often bring memories of family gatherings and joyous celebrations. These delightful treats not only represent a festive tradition but are also versatile and easy to make. Here are some commonly asked questions that will guide you through the cookie-making process and ensure your treats are a hit at any gathering.
Can I make these cookies ahead of time?
Absolutely! Preparing Italian Easter Cookies in advance is a great idea. You can make the dough a day or two before and refrigerate it until you’re ready to bake. Alternatively, these cookies can be fully baked and then stored for up to a week. Just be sure to let them cool completely before storing them in an airtight container.
What’s the best way to store Italian Easter Cookies?
To keep your Italian Easter Cookies fresh, store them in an airtight container at room temperature. If you want to maintain their softness, adding a slice of bread to the container can help retain moisture. However, if you prefer a crispy edge, keep them in a single layer without any extra moisture.
Can I use other flavor extracts?
Certainly! While traditional recipes often use vanilla or almond extract, feel free to experiment. Lemon, orange, or even coconut extract can add a unique twist to your Italian Easter Cookies. Just remember, a little goes a long way, so start with a small amount and adjust to taste!
Enjoy baking these delightful cookies and make new memories while indulging in age-old traditions!
Conclusion on Italian Easter Cookies
Creating Italian Easter Cookies is more than just baking; it’s about celebrating traditions and bringing loved ones together. The delightful combination of flavors and the charm of their vibrant colors make these cookies a must-have during the Easter season. As you bite into the soft, sweet dough and enjoy the way the icing glistens, you’ll find these treats evoke cherished memories and create new ones.
Take the time to enjoy the process of making these cookies, and share the joy with friends and family. They’ll appreciate the care that goes into each batch, and you’ll have a heartwarming dessert to brighten the festive table. Happy baking!
Print
Pastel Cookies with Icing
- Total Time: 1 hour 42 minutes
- Yield: 24 cookies 1x
- Diet: Vegetarian
Description
Delicious pastel-colored cookies topped with creamy icing and sprinkles, perfect for any occasion.
Ingredients
- 1/2 cup butter (softened)
- 1/2 cup sugar
- 3 large eggs (lightly beaten)
- 2 teaspoons vanilla extract
- 1/2 teaspoon almond extract
- 2 cups flour
- 2 teaspoons baking powder
- 1/8 teaspoon salt
- 3 cups powdered sugar
- 1 1/2 teaspoons vanilla extract
- 1/4 teaspoon almond extract
- gel food coloring (pastel colors)
- 2–4 tablespoons milk
- nonpareils or sprinkles (for garnish)
Instructions
- Preheat oven to 350 degrees F.
- Cream together butter and sugars until smooth and fluffy. This can take up to 3-4 minutes.
- Add eggs, vanilla extract and almond extract and mix with a wooden spoon until well combined.
- In a separate bowl, sift flour, baking powder, and salt together. Add flour mixture to the butter mixture and mix until combined. Check the consistency here, it’s ok for it to be sticky but it should hold its shape when scooped. This can vary with elevation and humidity. If needed, add a little flour a tablespoon at a time until it reaches more of a soft dough consistency.
- Using a cookie scoop, drop dough onto a parchment-lined baking sheet so the cookies are 1-2 inches apart. Chill for at least an hour or even overnight. If chilling overnight, cover with plastic wrap so the cookies don’t dry out.
- Bake cookies in the preheated oven for 10-12 minutes or until cooked through and the bottom of the cookies are lightly browned. The cookies should cool completely (you don’t want them warm at all).
- Whisk together powdered sugar, 1 tablespoon milk, vanilla extract, and almond extract. Add milk 1/2 tablespoon at a time until you reach your desired consistency. You want the icing to be quite thick so don’t thin it much if you can help it. Separate into separate bowls (however many colors you want to do) and add food coloring a little bit at a time until you get the color you like. Be careful with this, it is easier to add color than to take it away.
- Dip the tops of the cookies into the icing or spoon the icing over the top.
- Add nonpareils or sprinkles over the tops before the icing dries onto the cookies.
Notes
- This recipe can be adjusted for different elevations by modifying the flour.
- Chill the dough properly to ensure the cookies maintain their shape while baking.
- Prep Time: 30 minutes
- Cook Time: 12 minutes
- Category: Dessert
- Method: Baking
- Cuisine: American
Nutrition
- Serving Size: 1 cookie
- Calories: 150
- Sugar: 12g
- Sodium: 50mg
- Fat: 5g
- Saturated Fat: 3g
- Unsaturated Fat: 1g
- Trans Fat: 0g
- Carbohydrates: 22g
- Fiber: 0g
- Protein: 2g
- Cholesterol: 30mg
